
A little example
Let me do a very simple example involving Astro and htmx. This example does not use Alpine. We’ll add it in the next example.
I want to sell you Astro and htmx first.
We’re going to have a page with 2 buttons, one to increment a counter, another to decrement the count.
See this thing in action at https://demo.ahastack.dev/counter. It runs on Cloudflare Workers, and the count is stored in a D1 database (Cloudflare’s SQLite).
The full code is on GitHub: https://github.com/flaviocopes/ahastack.dev/tree/main/demo. That repo hosts 18 demos on one Worker, so the files sit under src/pages/counter.astro and src/pages/api/counter/, and the pages use a shared layout for styling. The logic is the same as what follows.
I think this will demonstrate how easy this stack can be.
Install Astro
npm create astro@latest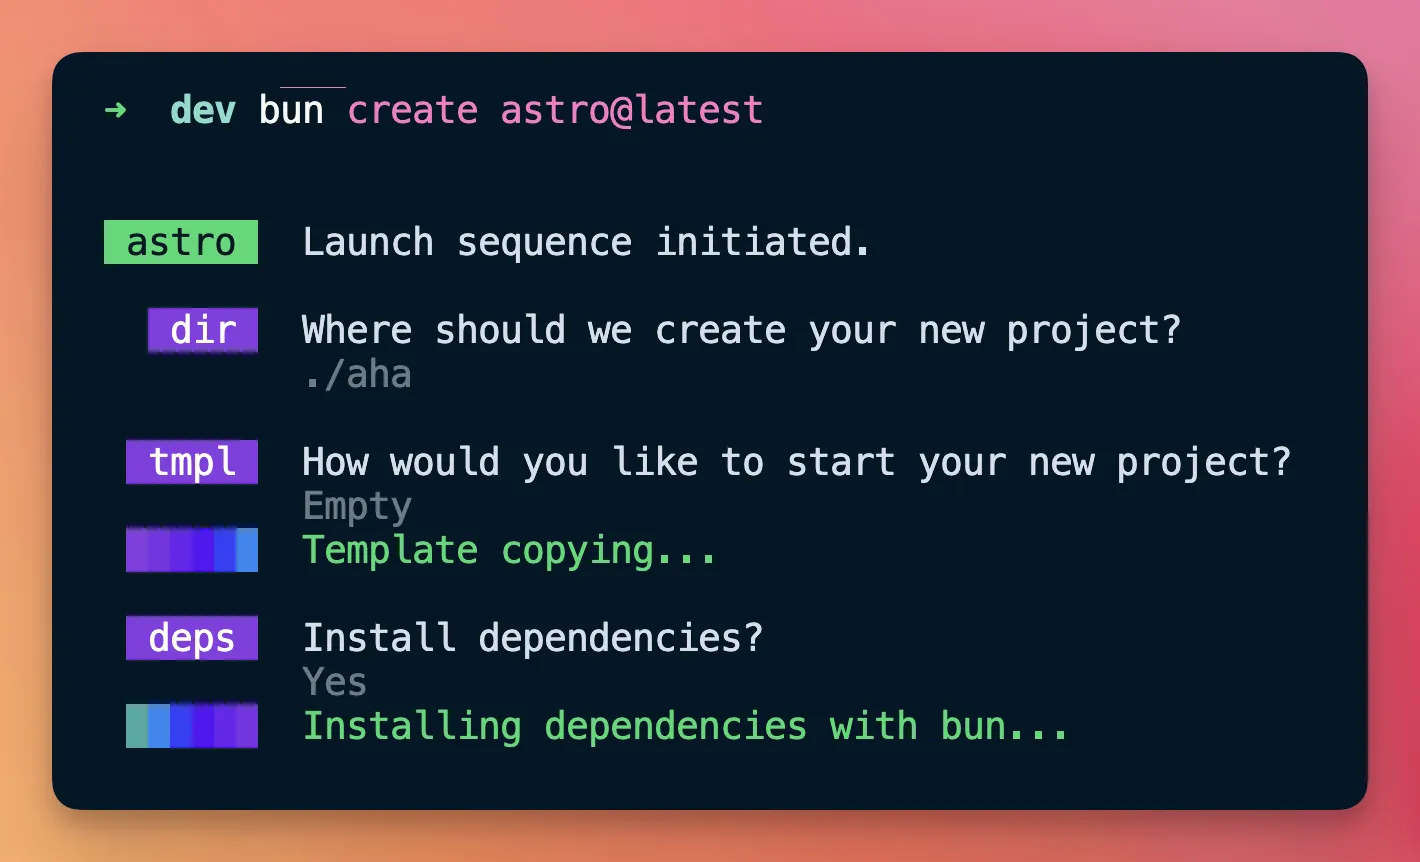
Run the site and open it in VS Code
cd <project>code .npm run devAstro generates static HTML at build time by default. Our counter changes on every click, so we need Astro to render pages on the server at request time.
We’re going to deploy to Cloudflare, so we add the Cloudflare adapter:
npx astro add cloudflareThen enable server rendering in astro.config.mjs:
import { defineConfig } from 'astro/config'import cloudflare from '@astrojs/cloudflare'
export default defineConfig({  output: 'server',  adapter: cloudflare(),})
Now we need somewhere to store the count.
Cloudflare Workers don’t have a filesystem, so we use D1, Cloudflare’s SQLite database. Create one:
npx wrangler d1 create aha-counterWrangler prints the database id. Create a wrangler.jsonc file in the project root and add the binding, with your id:
{ "name": "aha-counter", "d1_databases": [ { "binding": "DB", "database_name": "aha-counter", "database_id": "<your database id>" } ]}Create a schema.sql file with a table and a single row:
CREATE TABLE IF NOT EXISTS counter (id INTEGER PRIMARY KEY, value INTEGER NOT NULL);INSERT OR IGNORE INTO counter (id, value) VALUES (1, 0);Run it against the local database (used by npm run dev) and the remote one (used in production):
npx wrangler d1 execute aha-counter --local --file ./schema.sqlnpx wrangler d1 execute aha-counter --remote --file ./schema.sqlThat’s all the setup. Now create src/pages/index.astro.
Write some server-side code to read the count from the database, and add it to the HTML:
---import { env } from 'cloudflare:workers'
const count = await env.DB.prepare('SELECT value FROM counter WHERE id = 1')  .first('value')---
<html lang='en'>  <head>    <meta charset='utf-8' />    <meta name='viewport' content='width=device-width' />    <title>AHA counter</title>  </head>  <body>    <h1>Count: {count}</h1>  </body></html>
Result in the browser so far:

In Astro the part between --- at the top is ran server-side, and the part below is the HTML returned to the client.
env.DB is the D1 binding we declared in wrangler.jsonc. Astro runs the dev server in the real Cloudflare runtime, so this works locally too.
Let’s now install htmx.
Just add this <script> tag to the <head> of the HTML returned by index.astro:
<script src="https://cdn.jsdelivr.net/npm/htmx.org@4.0.0"></script>htmx is installed.
Now we can create the buttons to increment or decrement the count:
<body>  <h1>Count: {count}</h1>
  <button hx-post="/api/increment">Increment</button>  <button hx-post="/api/decrement">Decrement</button></body>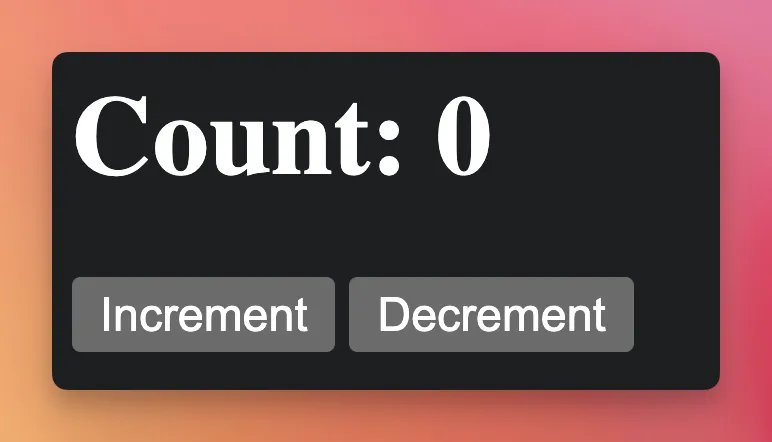
When you click the Increment button, htmx will issue a POST request to /api/increment.
Create src/pages/api/increment.astro
---import { env } from 'cloudflare:workers'
export const partial = true
const count = await env.DB.prepare(  'UPDATE counter SET value = value + 1 WHERE id = 1 RETURNING value').first('value')---
{count}
export const partial = true tells Astro this returns a simple “HTML fragment”, not a full page.
The SQL does the increment and returns the new value in one atomic query, so two people clicking at the same time can’t step on each other.
Clicking a button will now return the new count inside the button, because htmx by default swaps the returned HTML into the innerHTML of the element that triggered the network request.
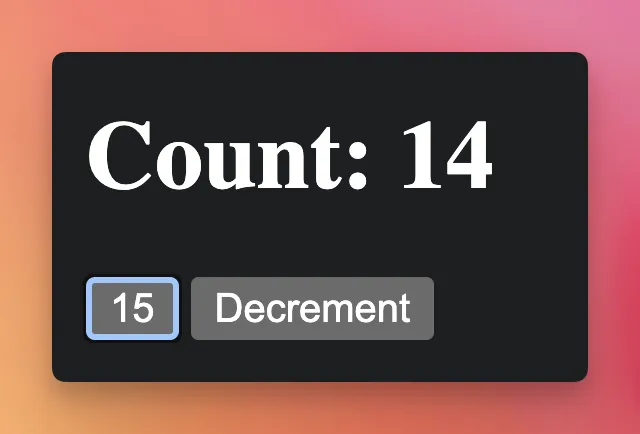
You can change the HTML to
<body>  <h1>    Count: <span id='count'>{count}</span>  </h1>
  <button hx-post='/api/increment' hx-target='#count'>    Increment  </button>  <button hx-post='/api/decrement' hx-target='#count'>    Decrement  </button></body>
and now the count value is updated dynamically.
Click the button, you’ll see the count increment correctly:
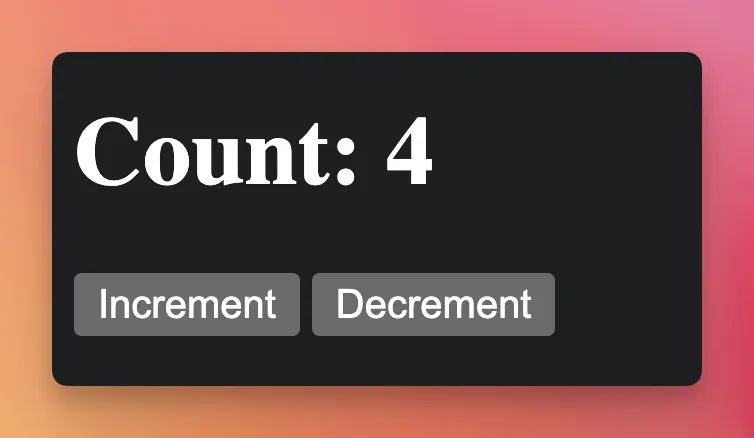
Notice we shipped HTML (in this case, we just returned a number, but it’s returned as text/html mime type, not in a different format like JSON for example) back to the client, and this HTML is swapped into the page in the place we want.
We also create the “API call” to decrement the count in src/pages/api/decrement.astro
---import { env } from 'cloudflare:workers'
export const partial = true
const count = await env.DB.prepare(  'UPDATE counter SET value = value - 1 WHERE id = 1 RETURNING value').first('value')---
{count}
All the count updates are happening without a full page reload, without having to write any JavaScript ourselves, without a “SPA” framework.
In the network panel of your browser DevTools you can see all the requests that just return some bits of HTML.
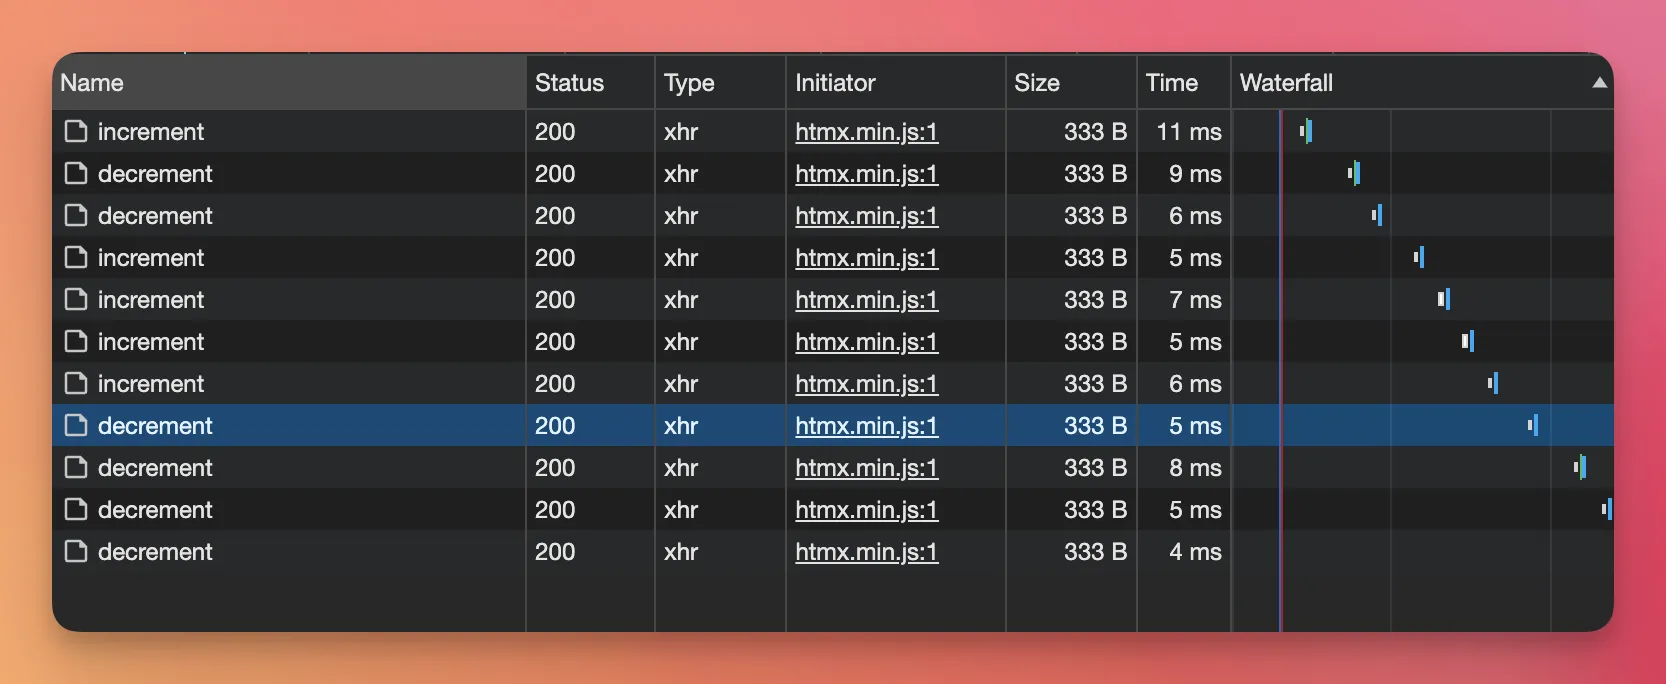
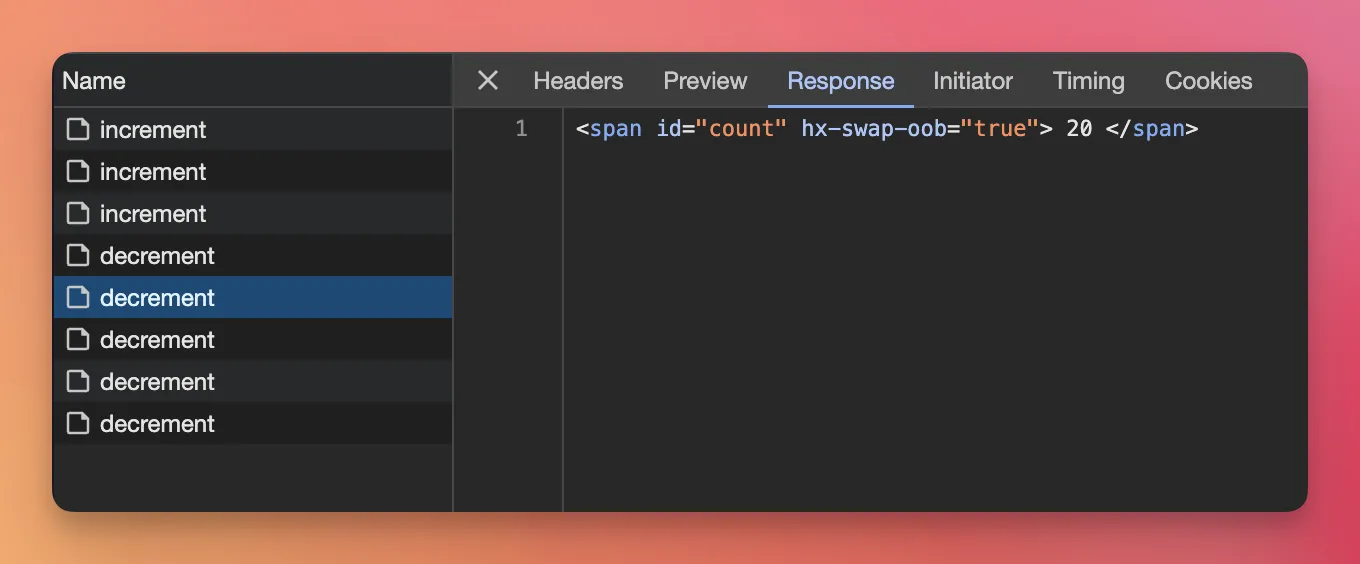
Reloading the page shows you the current count. The state is all managed on the server.
Let me tell you about oob swaps in htmx, because this will blow your mind.
In the HTML returned from /api/decrement or /api/increment, instead of returning {count} you could return:
<span id='count' hx-swap-oob='true'>{count}</span>and you wouldn’t need to have hx-target='#count' on the buttons any more. The HTML generated on the server decides what to swap.
When the response contains only oob elements, htmx leaves the button alone. Nothing else gets swapped.
The amazing thing is you can have multiple elements in your returned HTML with hx-swap-oob='true' replacing different parts of your application.
Time to deploy. Build the site and push it to Cloudflare:
npx astro buildnpx wrangler deployWrangler prints the URL of your Worker. That’s it, the app is live.
This was just a little example of using Astro to generate the HTML and htmx to drive client-to-server interactivity in a way you’d usually think you’d need a complex SPA framework, and a ton of JavaScript, but here we didn’t write a single line of client-side JavaScript (we did write JS on the backend to read/write the count, but this is another story).
I’ve been using this stack to build a much more complex app, with lots of screens and interaction and login and database, and the approach scales pretty well.
Can this work for your use case too? As they say, it depends. Try it for some small scale stuff and see for yourself.
Full app code:
src/pages/index.astro
---import { env } from 'cloudflare:workers'
const count = await env.DB.prepare('SELECT value FROM counter WHERE id = 1')  .first('value')---
<html lang='en'>  <head>    <meta charset='utf-8' />    <meta name='viewport' content='width=device-width' />    <title>AHA counter</title>    <script src='https://cdn.jsdelivr.net/npm/htmx.org@4.0.0'></script>  </head>  <body>    <h1>Count: <span id='count'>{count}</span></h1>
    <button hx-post='/api/increment'>Increment</button>    <button hx-post='/api/decrement'>Decrement</button>  </body></html>
src/pages/api/increment.astro
---import { env } from 'cloudflare:workers'
export const partial = true
const count = await env.DB.prepare(  'UPDATE counter SET value = value + 1 WHERE id = 1 RETURNING value').first('value')---
<span id='count' hx-swap-oob='true'>{count}</span>
src/pages/api/decrement.astro
---import { env } from 'cloudflare:workers'
export const partial = true
const count = await env.DB.prepare(  'UPDATE counter SET value = value - 1 WHERE id = 1 RETURNING value').first('value')---
<span id='count' hx-swap-oob='true'>{count}</span>